A huge and special thanks to Washington angler and baseball player extraordinaire Mr. Eric Koenig for his kick ass four piece jig installments all available right here on AAA!! Enjoy the final step.
Making your own Jigs part 4
Tying the single bead rabbit fur jig
Things you will need
– Pre drilled 6mm bead
– Jig head
– Krazy glue
– Crosscut black rabbit fur
– Kevlar thread
– Fly tying vise
– Bobbin
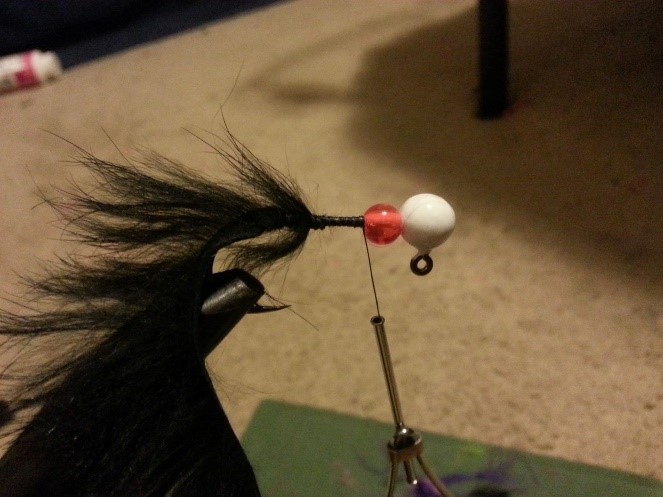
Step 1: First things first you need to take your jig head and put your 6mm pre drilled bead on the jig. Then you need to snug the bead to the jig head and put some crazy glue inside the bead and then hang it to dry (5-10min).
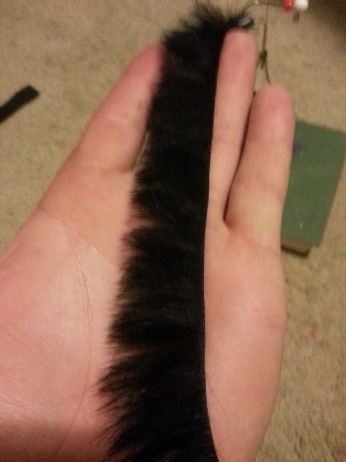
Step 2: Once that is done its time to start wrapping Kevlar thread on your jig. Start close to the bead and wrap down the shank towards the hook about perpendicular to the top of the hook point. As a side note any further down the hook shank and it will be hard to tie the material on as well as having material blocking the point of your hook (Resulting in poor hookups). After you have set a good base of thread on the jig shank it’s time to take your crosscut rabbit fur (crosscut lays one direction like in the picture below)
Step 3: Line up your crosscut rabbit fur so it sits along the hook shank. (Don’t start tying just yet!)
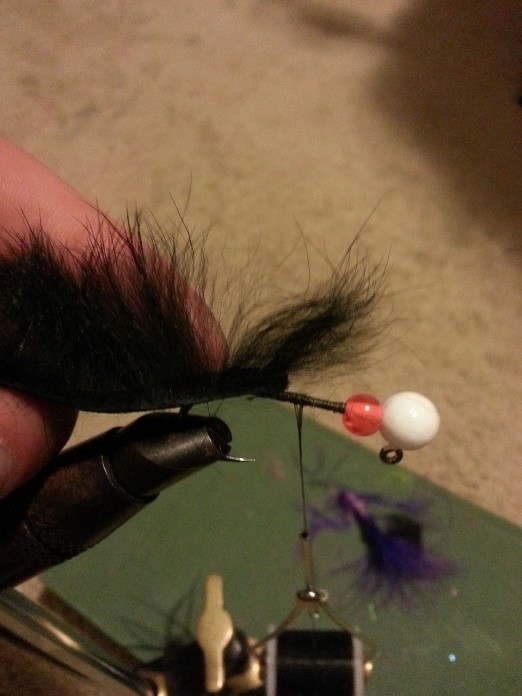
Step 4 Now lay that crosscut rabbit fur at a 45 degree angle with the fur facing away from the jig head. Then proceed to tie it down with 5-8 wraps.
Step 5: Tie your way back and get as closely as you can to the bead.
Step 6 Take the rabbit fur and wrap it up towards the bead so that the rabbit fur is facing down away from the jig head and wrap it as closely as possible without overlapping the bead.
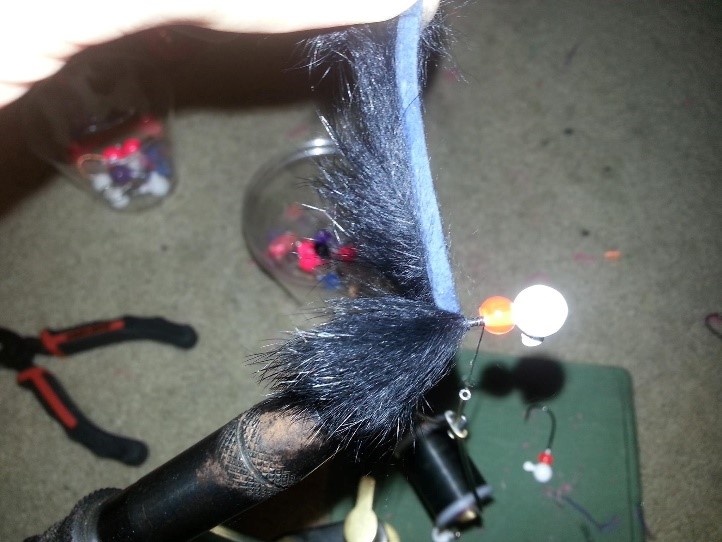
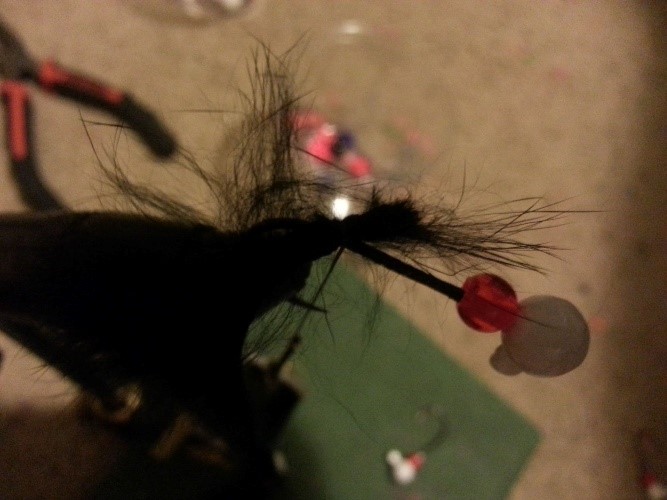
Step 7 Now that you have wrapped the rabbit fur up to the bead. Here is a nice trick, take your rabbit fur and pull it past the jig eye (like in the photo) and begin tying your thread off right next to the bead 4-5 times
Step 8 Now just take your scissors and trim the excess rabbit fur as closely as possible.
Step 9 Now do a whip finish before you cut your thread. As a side note if you are not using Kevlar thread then I suggest a little head cement after you do your whip finish to securely hold the knot. Here is a live link to a whip finish Video https://www.youtube.com/watch?v=M482D0wFvHA
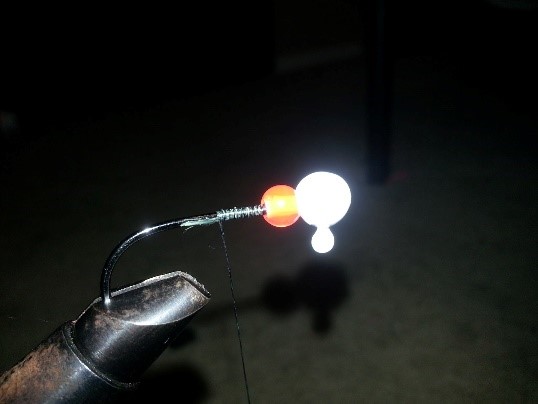
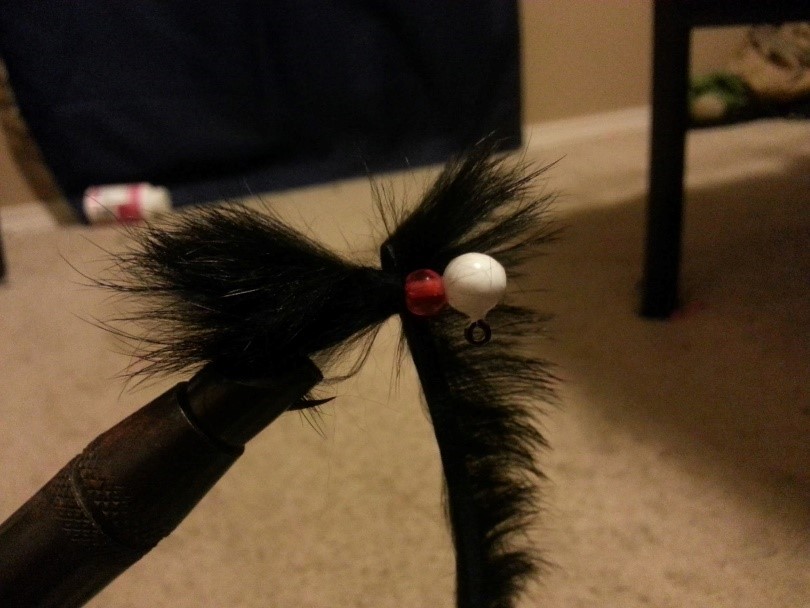
Final step “The Goods”

Now your finished product looked something like these. The single bead nightmare rabbit fur is a great jig for steelhead. For advice I would start with simple patterns and then work your way to more complex patterns.
Tight lines,

Eric Koenig AAA-Pro Staff